
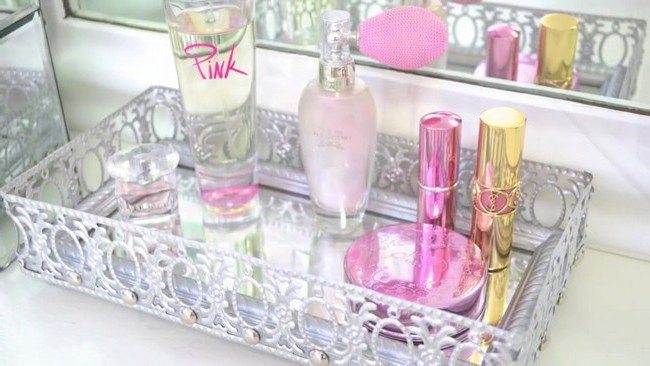
Indulging in DIY projects is not only fun, it is also a great way to spend your free time. In this project, we will show you how to make a mirrored vanity tray in the shortest time possible, using cheap and easy to find materials.

First, you will need a small mirror like the one below. This one was obtained from a thrift store for just 99 cents.
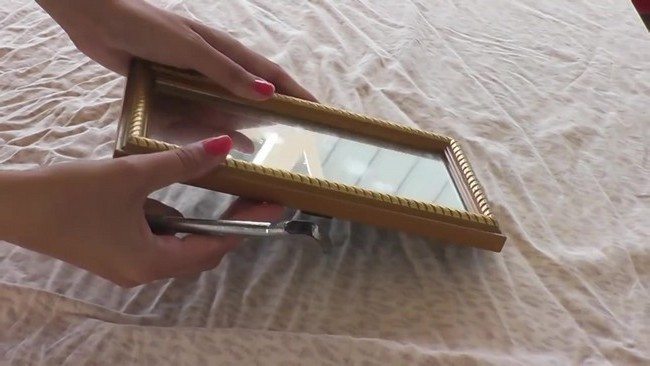
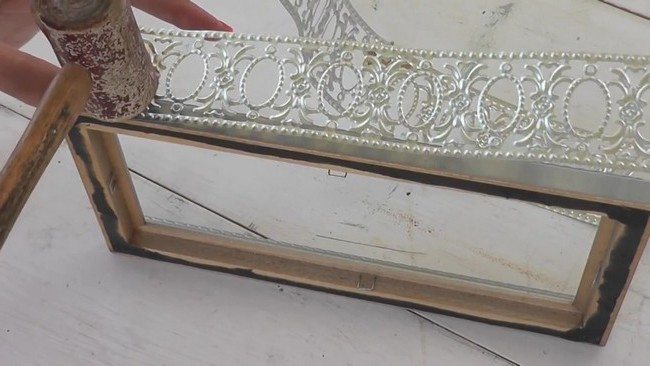
Tear off the paper from the rear of the mirror and remove the mirror from the frame and set aside.
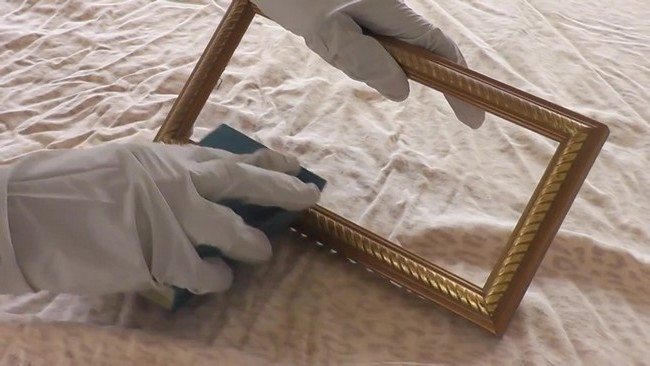
Next, use a grit sanding block and sand down the shin on the frame so that the next layer of paint will stick better.
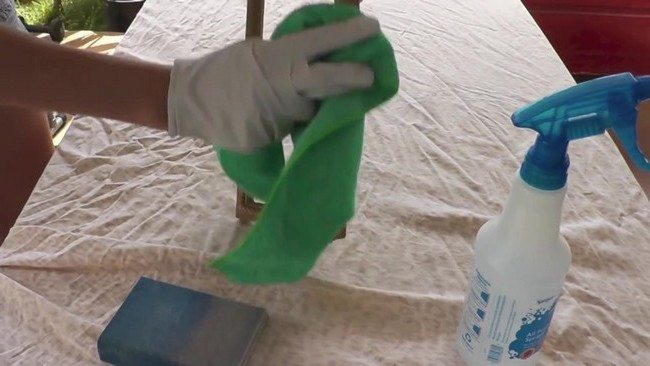
Using a towel, wipe the frame using a mixture of vinegar and water.
For the paint, you can use Rust-oleum metallic paint, which also serves as a primer. In this project, the Universal brand was used, in titanium silver color.
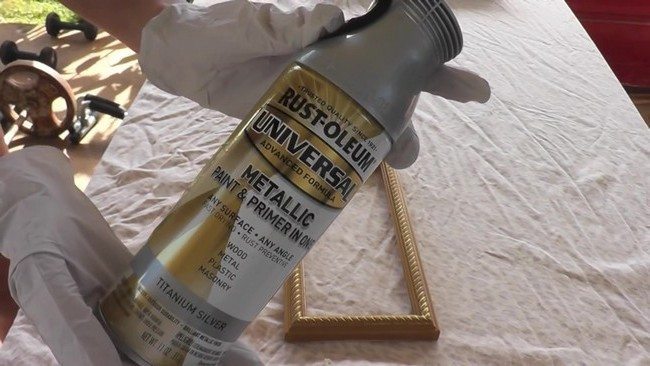
Spray one light layer of the paint on the frame and let it dry. After 15 minutes, spray a second coat. If you are still not satisfied with the results, spray a third coat. However, make sure that the coats are light and thin. Also allow the paint to dry in between each coat.
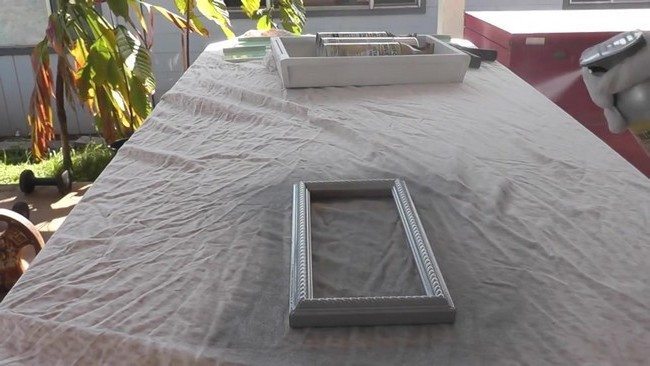
Frame painted in light coats of paint
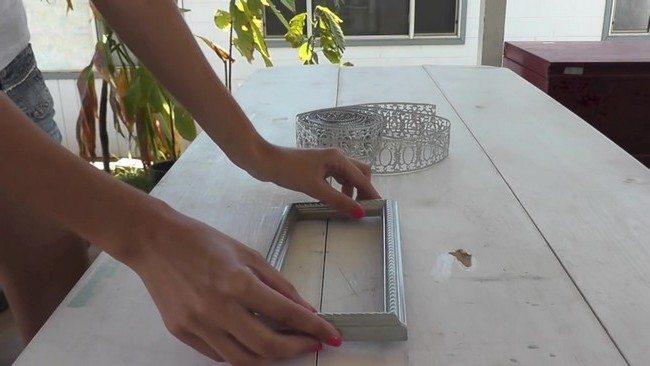
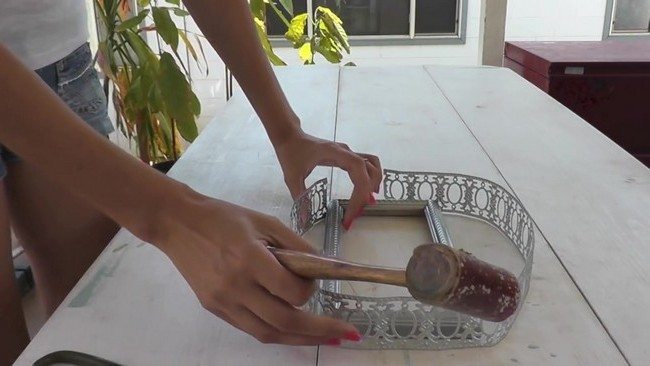
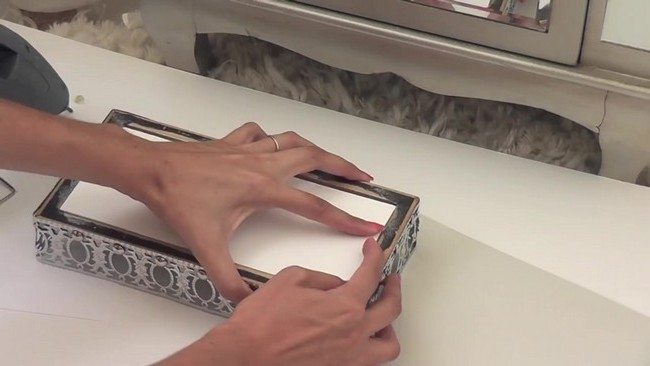
You also require a trim around the frame. Here, the trim was a metal ribbon. You can buy it online or in stores. It goes for around $3 for 7 yards. The good feature about this metal ribbon is that it is flexible, making it easy to use.
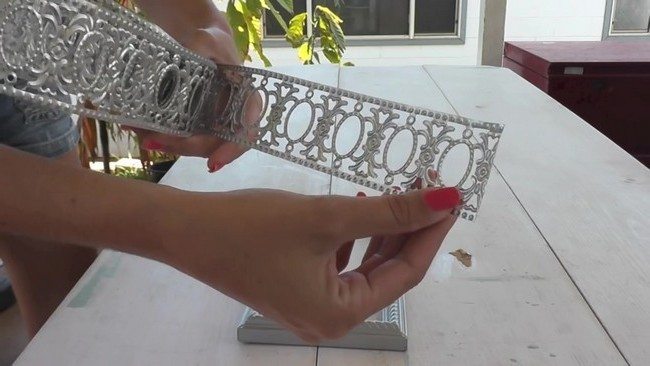
Grey metal ribbon used as trim around frame
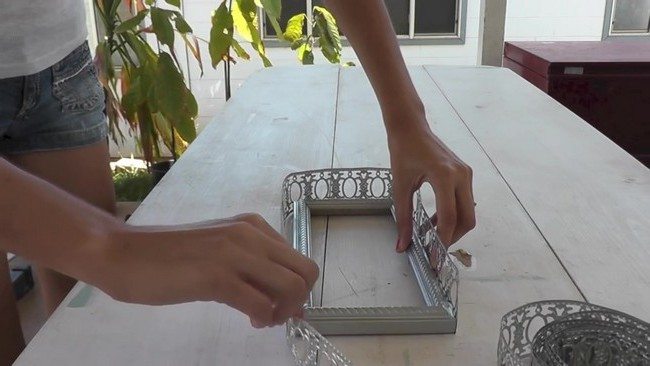
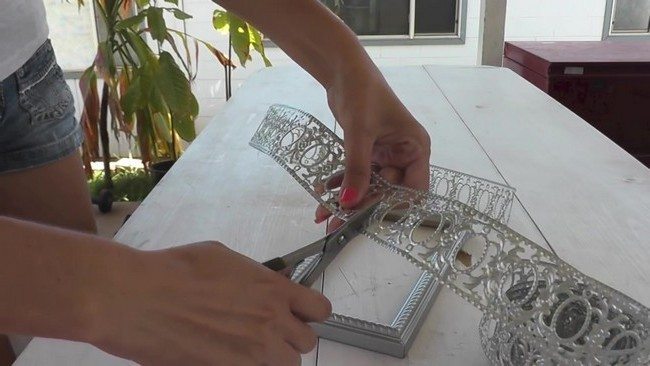
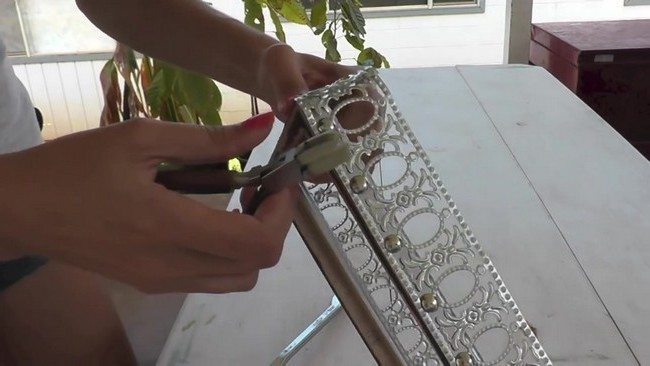
Wrap the metal ribbon around the frame to know how much of it you will need. After measuring it out, cut off the length you need and cut it off using a pair of metal shears.
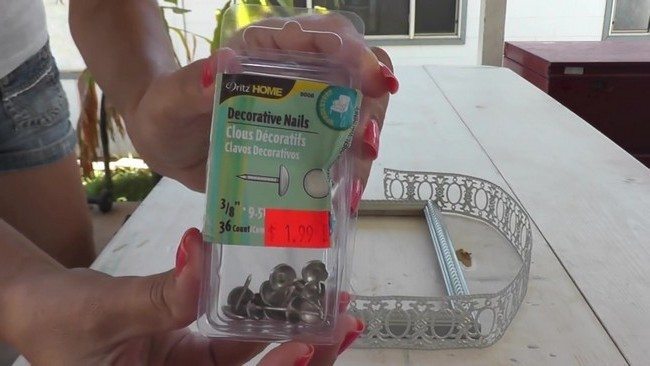
To attach the metal ribbon to the frame, you will need decorative nails.
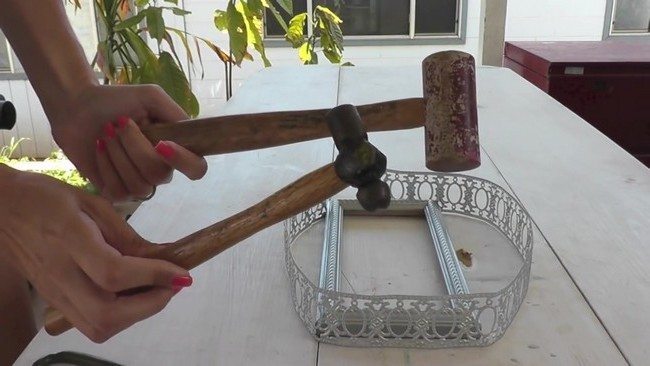
It is important to choose a gentle yet strong hammer. Hammer in the nails carefully and make sure that they are nailed in perfectly along the edge.
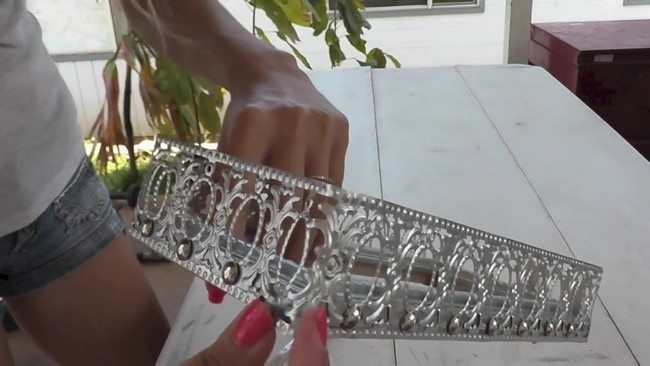
Bend the two ends of the metal ribbon and mesh them together using pliers, so that the metal ribbon looks continuous.
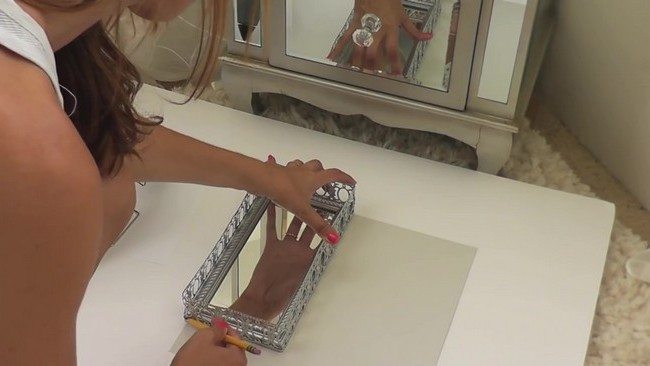
Next, polish the mirror so that it is shiny
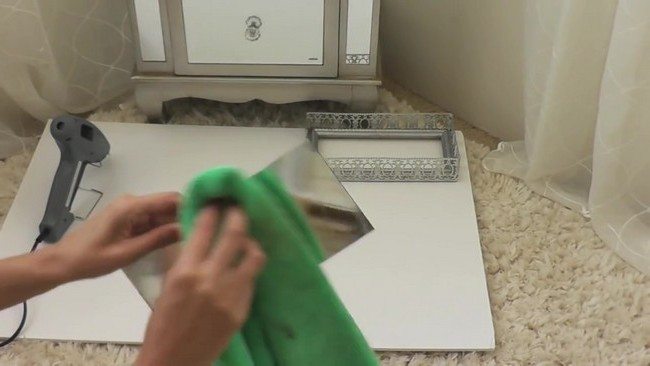
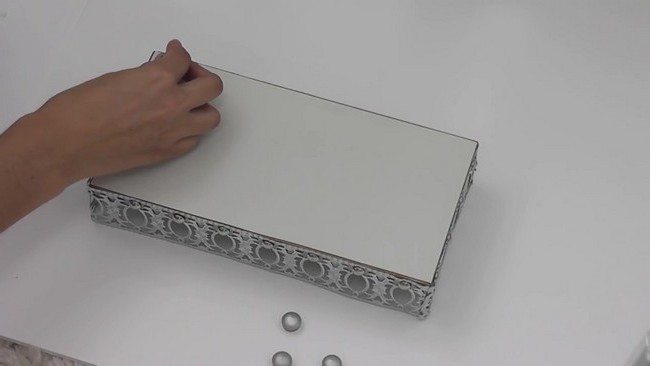
Now place the mirror into the frame and make sure it is well-centered. To help the mirror stay in place, add glue to the four corners using a high-temperature hot glue gun.
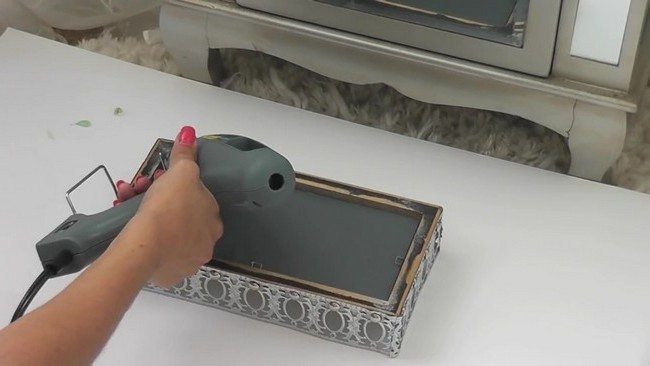
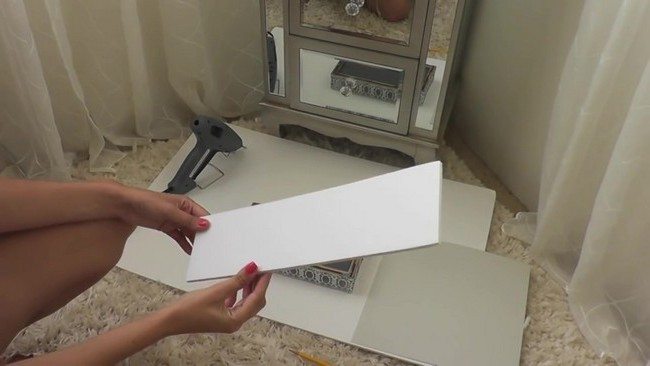
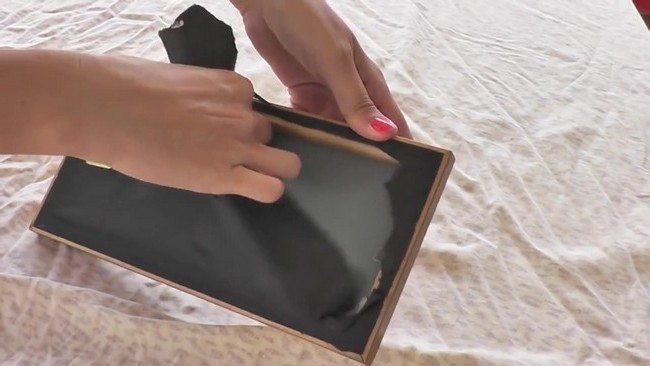
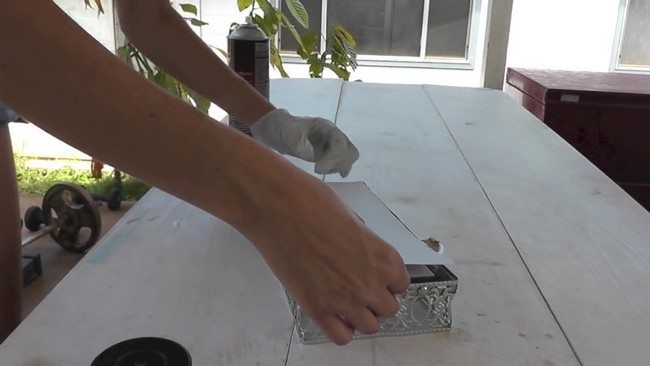
Place a white fitting foam board at the back and staple it in so it fits in place.
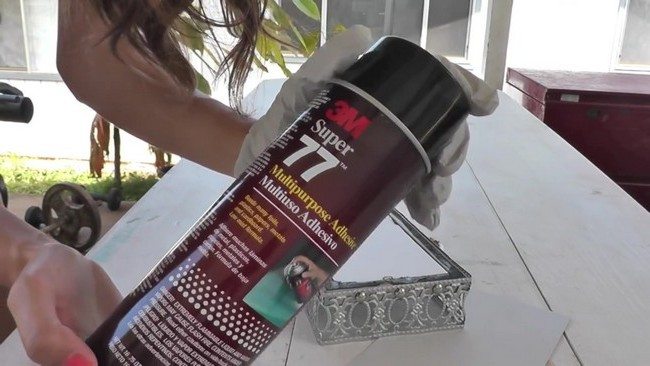
Spray one side of the scrapbook paper and fit it over the bottom to create a neat finish.

Again, using the Rust-oleum paint and primer, spray the wood screw hole covers. These can be obtained for around 10 cents. Use two coats of paint.
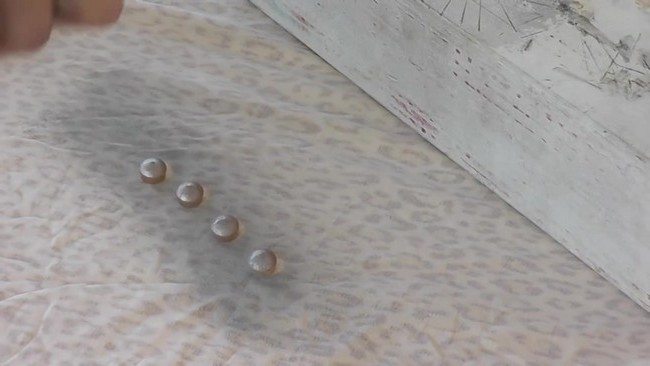
Attach the screw hole covers at the bottom using a hot glue gun and you’re done!


