
Why buy a chandelier for a hefty price when you can as well create one using regular and cheap materials that are within your reach? Below, we take you through some easy and pretty detailed steps on how you can make your own chandelier within just a few hours, or even minutes.
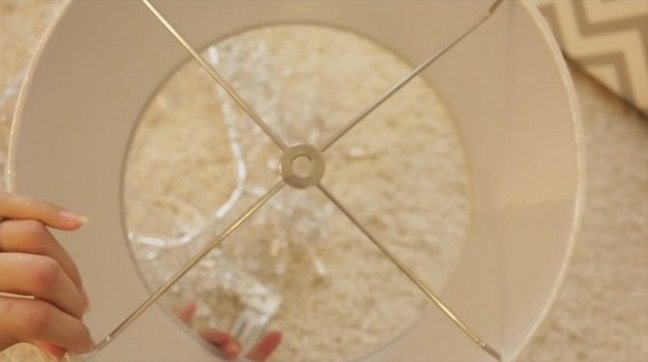
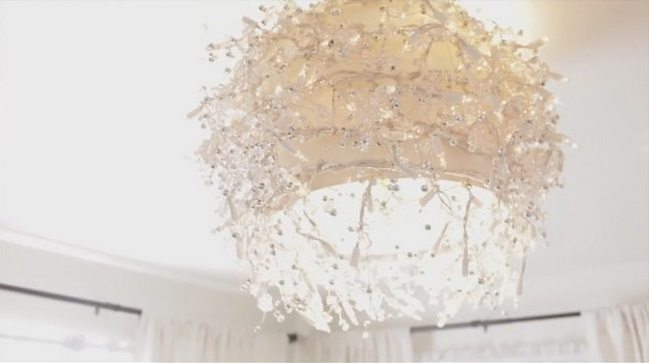
First, you will need to have all the materials and equipment reay. You will require awhite, sparkly lampshade that is around 14 inches in diameter, like the one in the picture below.
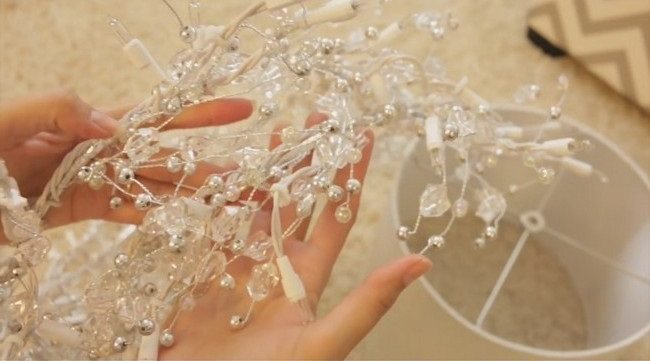
Next, you will need two sets of crystal garland, like the one in the picture above.
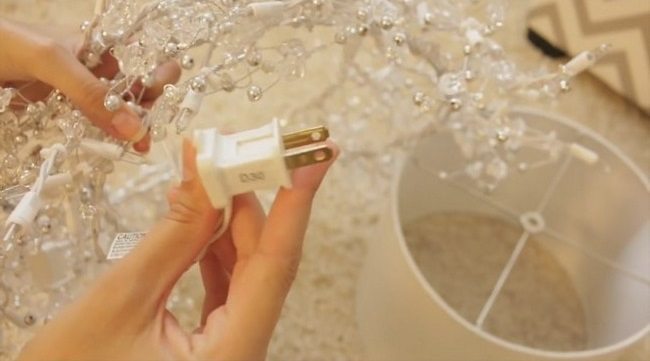
The crystal garland should have one or more plug-ins and they light up when plugged in. You can get the crystal garland at anumber of supermarkets and other shopping outlets.
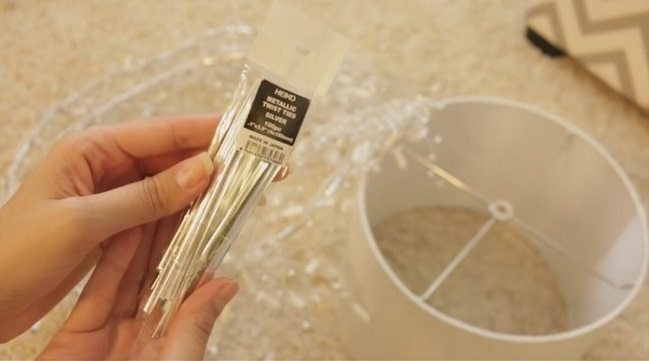
You may also opt to get LED twist lights or metal twist lights like the ones in the picture above.
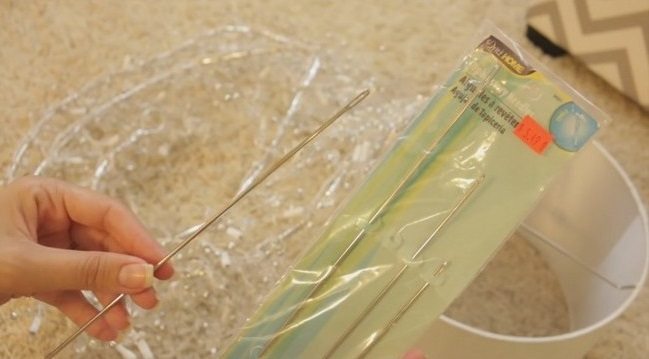
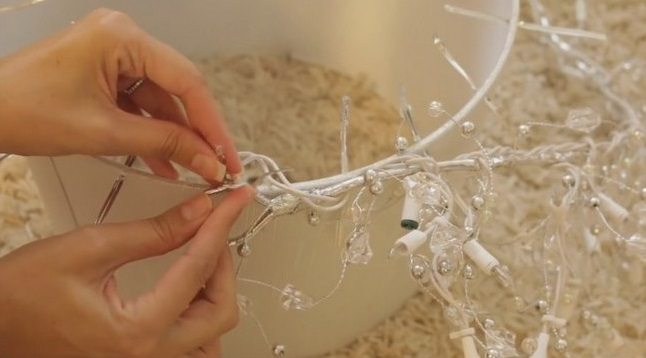
You will also need an upholster’s needle that you will use to pook holes around the perimeter of the lampshade, at the bottom.
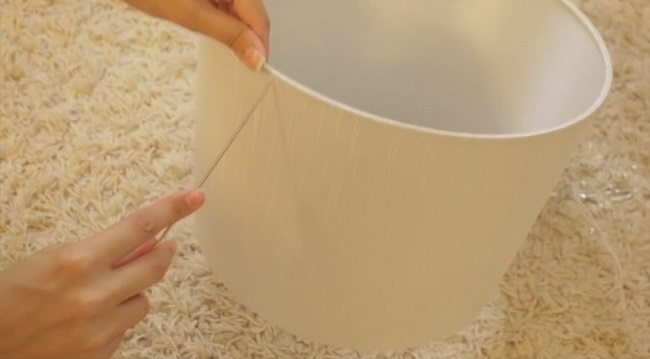
The holes should be spaced 2-3 inches apart.
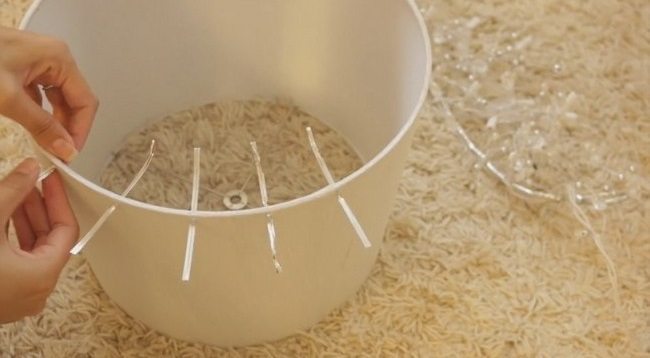
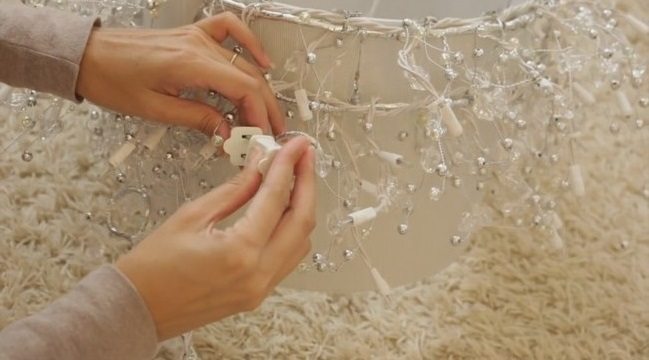
After that, insert the LED or metal crystal twist lights into the holes you have made at the bottom of the lampshade, one by one. Drop the plug-in into the middle of the lampshade, so that it doesn’t get in the way and begin to attach the LED or metal twist lights to the garland by twisting them around each other.
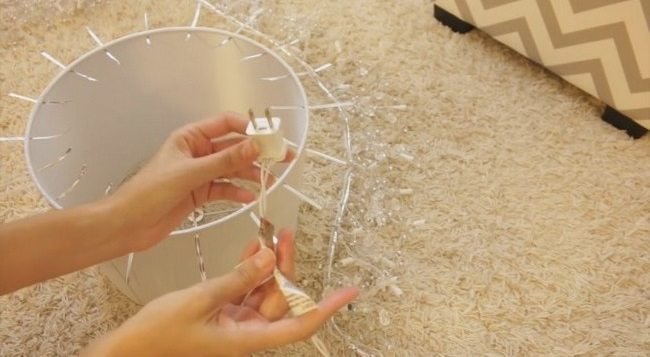
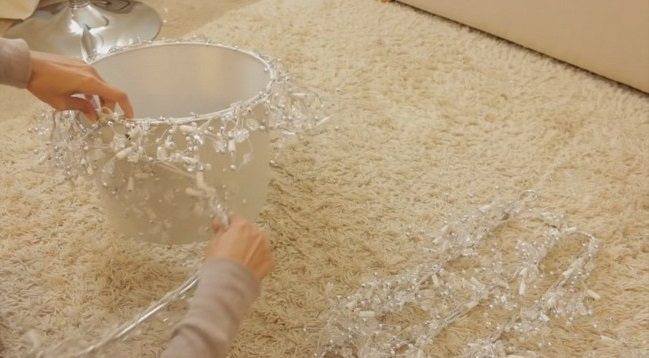
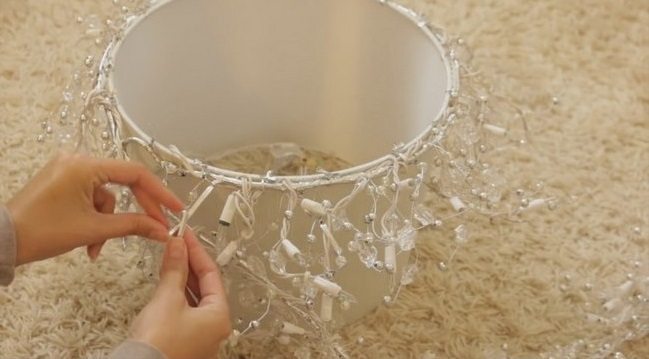
Wrap them together all around the perimeter of the lamp and when done, progress to the next row and continue twisting until the whole lampshade is covered with the garland.

If one set of garlands is not enough, you can add another one. Make sure that you wrap the garland neatly in rows for a better display. You can wrap the garland around the lampshade until the level that you desire.
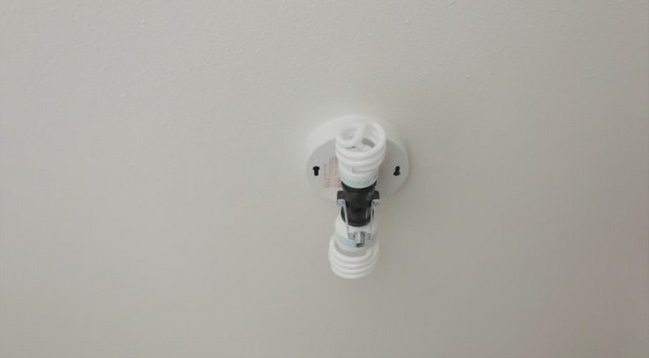
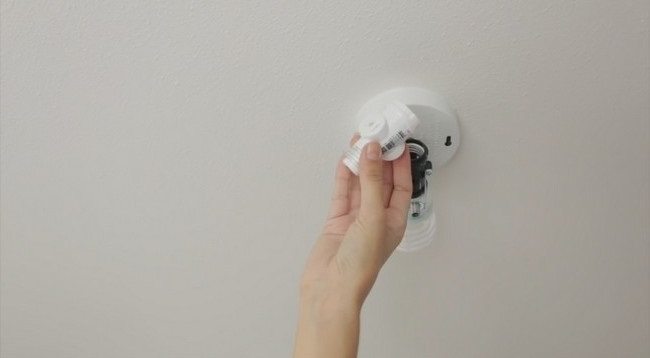
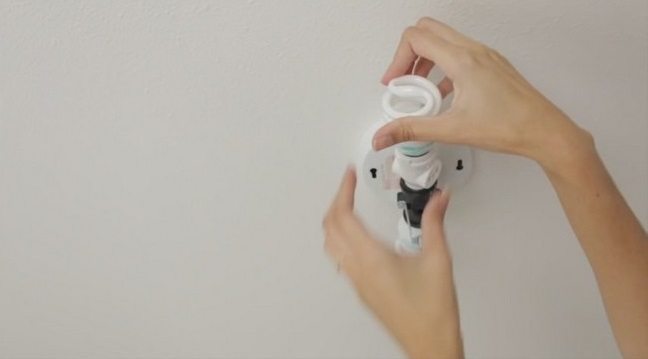
Remove one of the light bulbs. In the place you removed the bulb, insert a light sock with . You can get one from the store. Screw it in and return the bulb you had removed.
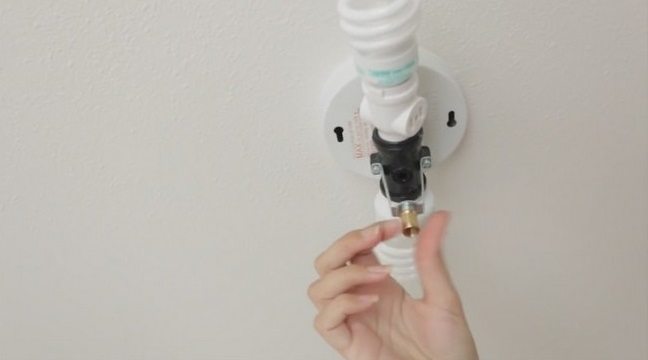
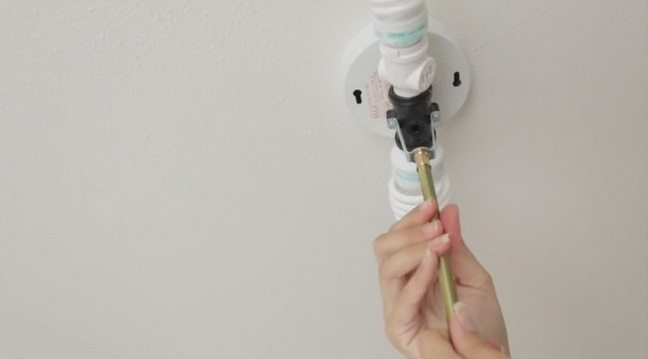
After inserting the cap, attach a six-inch extender to it by screwing it in. Again, the extender can be found at an electronics store.
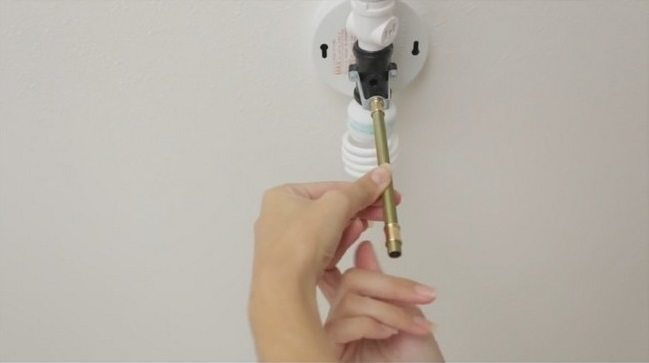
Attach another cap at the bottom of the extender.
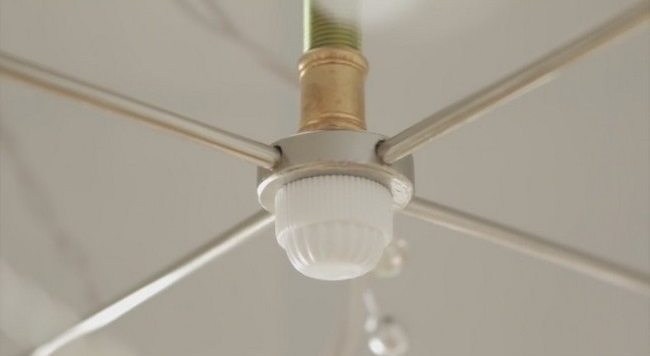
After that, take the lampshade you have now made into a chandelier and screw it into the cap link.
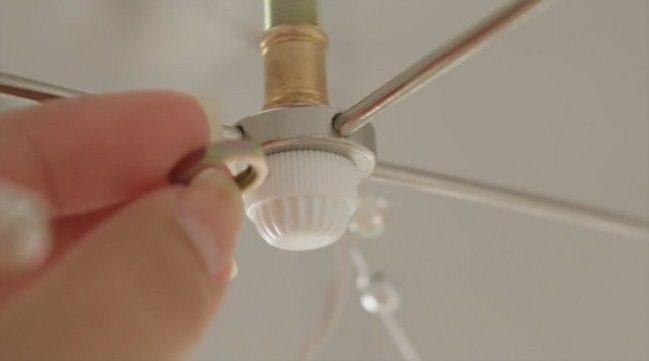
For extra stability, you may insert a screw fastener.

You can now plug in your lights.
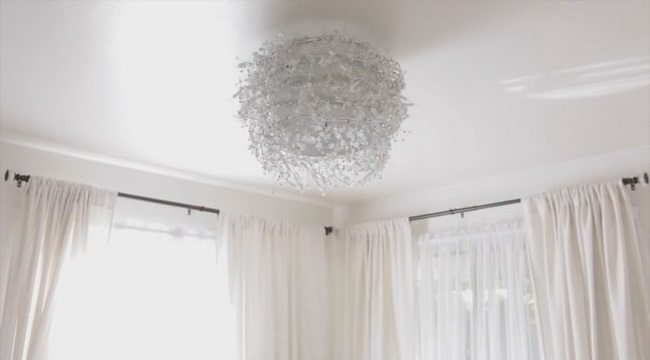
When you switch on your lights, this is the result.


