
Often, bathrooms have high humidity. Due to this feature, the finishing materials used in its design must be waterproof and easy to clean. Therefore, tiles are the most used material for bathroom finishing. This article will help you choose the best finishing tiles for your bathroom, teach you how to sparingly use the tiles, and offer you a glimpse at the latest fashion trends you can experiment with.
Selecting Tiles for the Bathroom
Essentially, the bathroom is covered with tiles on both the floor and walls. Tiles for the floor, however, differ significantly from those for the wall. This is, no doubt, the first aspect you ought to pay attention to when selecting bathroom tiles.
Wall Tiles
Tiles for use on the bathroom wall should meet the following requirements:
- Should be resistant to moisture
- Should be resistant to alkalis and acids
Tiles with matte coating are better suited for the bathroom as they are easier to care for compared to glossy tiles.
Floor Tiles
Floor tiles differ from wall tiles not only in size, thickness and coating, but also in strength. All these characteristics (size, thickness, coating and strength) of floor tiles have their own classes. The higher the class, the better the wear and water resistance. The first class is however not recommended as such tiles produce slippery surfaces, easily resulting in bathroom accidents.
Selecting Tiles for a Small Bathroom
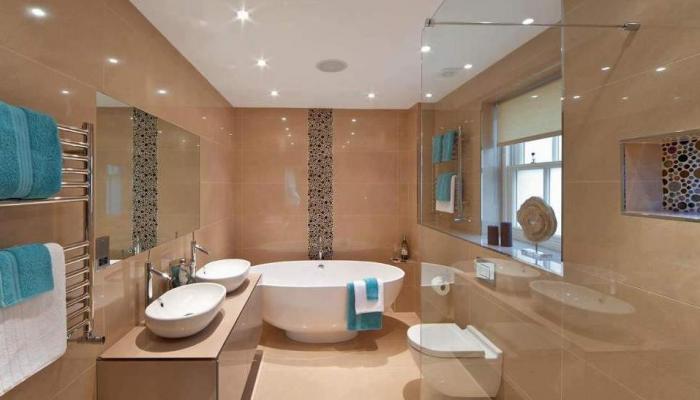
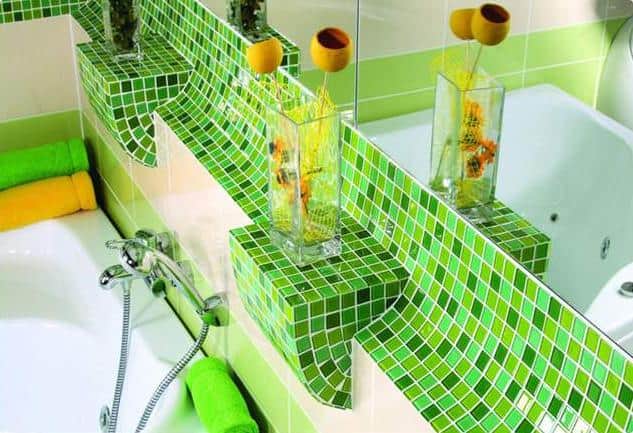
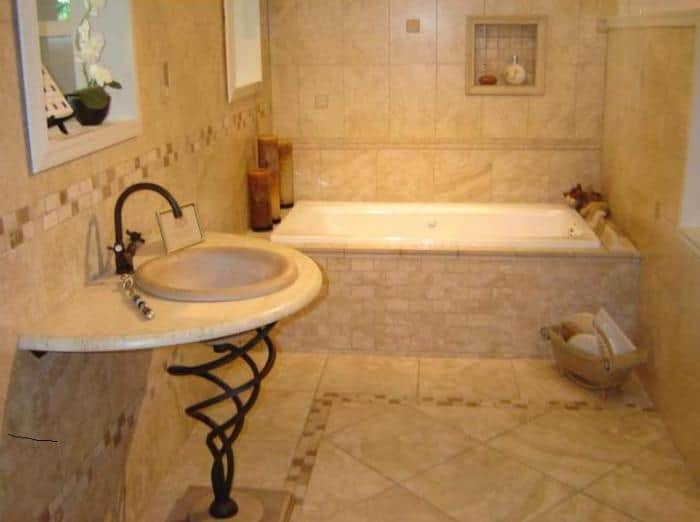
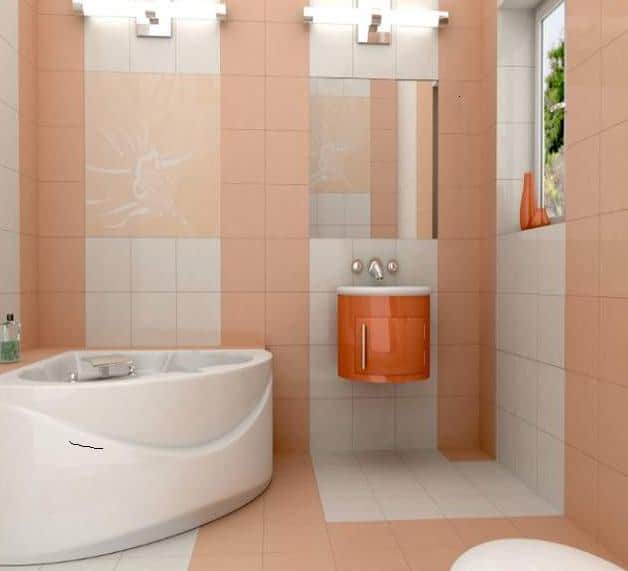
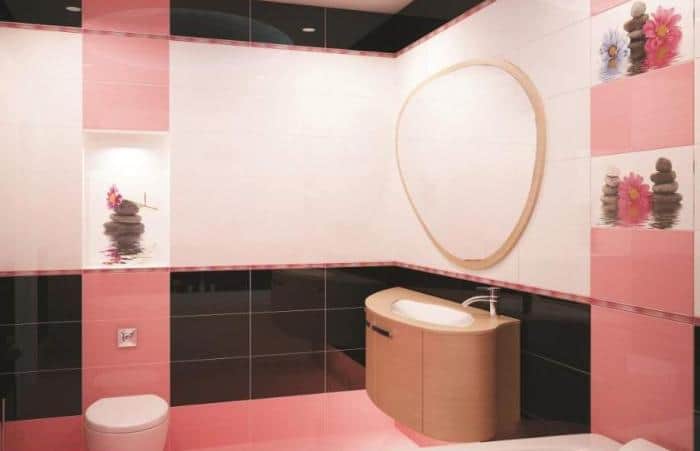
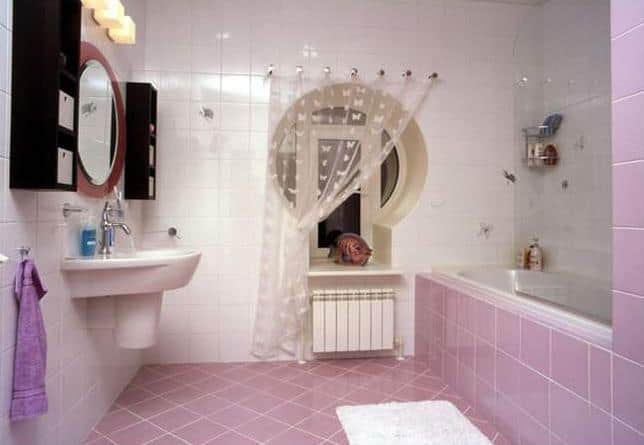
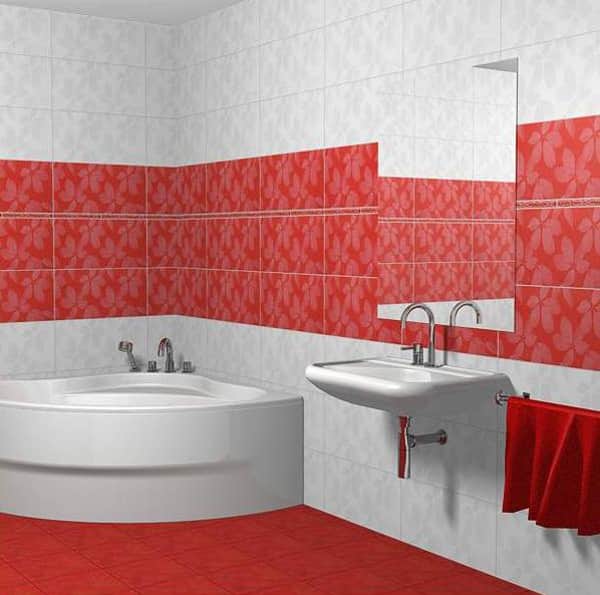
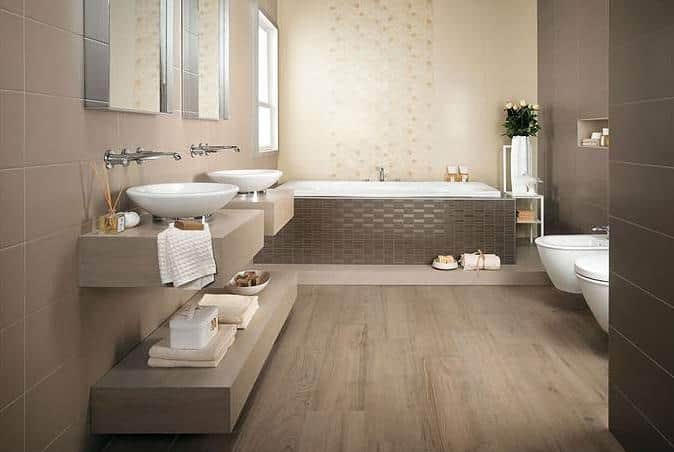
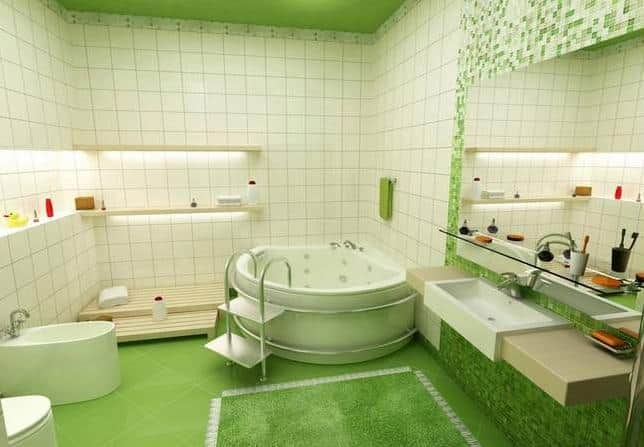
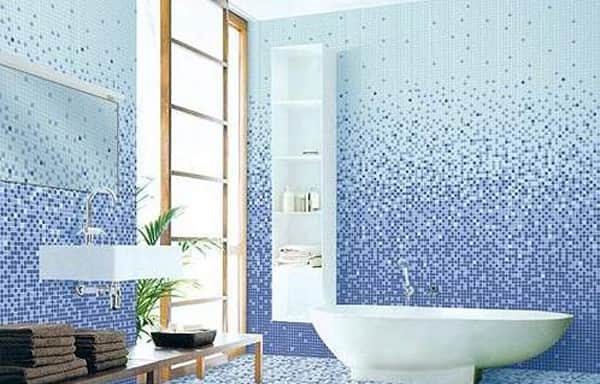
For a small bathroom, the tile should be preferably light and have a medium-sized pattern.
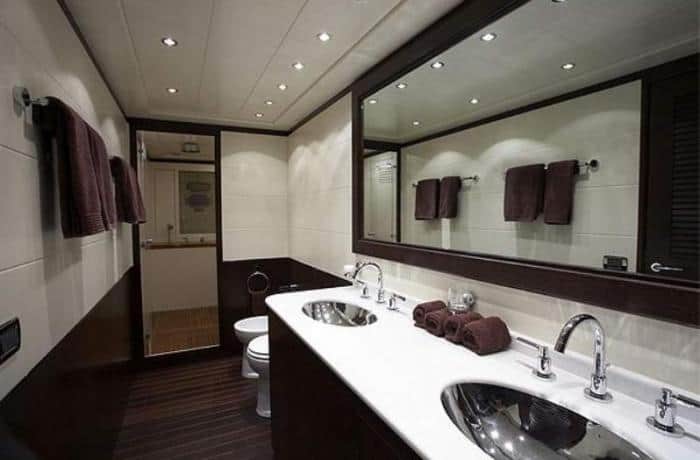
The size of the tile does not matter. Do not be afraid to install large tiles, because these too produce amazing visuals. You can make small accents darker or alternatively, use multi-colored tiles. This trick visually expands the space laid out by horizontal stripes tiles of two colors, contrasting or differing by two or three tones. The color of the floor should not be minimally dark. Ideally, floor tiles should be just a shade darker than wall tiles. If you really like dark tiles for the walls, then you can as well go along with this option and then visually increase the bathroom space by using light-colored tile for the floor.
Consumables for DIY Tile Installation
- Tiles: The number needed must be calculated beforehand.The dimensions of floor and wall tiles are different. You can easily estimate the number of tiles you’ll require by calculating the area that will be covered with tiles, then dividing it by the size of one tile. Professionals usually recommend that you buy 5 percent more tiles than the estimate in case some space remains or a few tiles are damaged. If you plan to install the tiles yourself, then raise the allowance to ten percent. This precaution is extremely necessary since different tiles differ slightly in tone, and it may be difficult to obtain exactly matching tiles again.
- Glue for installing tiles: Usually the packaging indicates whether the glue can be used for installing tiles. Knowing the size of the area to be covered with tiles, you can easily calculate the amount of glue you will need.
- Spatula with denticles for applying glue to the walls.For non-professionals, the spatula should be not more than 200 mm, thus leaving little room for mistakes.
- Plastic crosses for adjusting the width of seams.
- To grout the joints after gluing the tiles you will need a special mixture and a rubber spatula.
- Bulgarian or tile cutter .
- Roulette, leveling pencil, mortar utensils and rubber hammer.
- Do not forget to cover the furniture and plumbing that remains in the bathroom during the repair. Cellophane is the best material to shelter these items from damage that may be caused by things like dust and glue.
Sequence of Bathroom Finishing
Once you have bought all the equipment and materials, you can start preparing the walls for gluing the tiles. Tiles on the floor are glued after pasting the walls. Before you make a solution for plastering, you need to determine how smooth the walls are. This requires a level. There are two options for leveling the walls:
- Plastering specialist: For large projects, it is a wise idea to invite a specialist. Read more about plaster walls in the bathroom with your hands .
- Covering with plasterboard: For bathroom tile installation it is necessary to purchase a special moisture-resistant gypsum board, on which you then place the tiles.
For a more attractive appearance, the topmost tile should not be cut off, and therefore, proper planning is required so that the clipped tiles are at the bottom. To do this, take the height of the tile plus three millimeters for the seams and divide the height of the walls by this number. The size that remains in the remainder is the height of the bottom row. This row must be separated on the wall by fastening a wooden or metal bar.
Tiling begins with the second bottom row:
- The solution is applied with a notched trowel to the wall under several tiles at the same time. Do not apply the solution to the tile itself. Next, carefully press the tile against the wall and, if necessary, tap with a rubber mallet. The laying quality must be checked by level in order to notice the displacement of vertical and horizontal lines in time.
- All the tiles must be separated from each other by plastic crosses, so that the seams are even and beautiful.Sometimes designers, to achieve a special effect, recommend contrasting the color of stitches contrasting with the tile color. This way, the unevenness and varying width of the tiles will be very noticeable to the eye.
- The lower row is laid out after the upper tile dries and the auxiliary strip is removed.
- After the wall is completely covered with tiles, you have to wipe the seams. A special agent for grouting joints is kneaded according to the recipe indicated on the packaging and gently applied at the seams with a rubber spatula. You can add pigment to the grout. This is practiced both to achieve monotony of the walls, and to contrast the selection of each tile. Colored grout is most often used for single-colored tiles. After the grout has dried, wipe the tile to remove its residues.
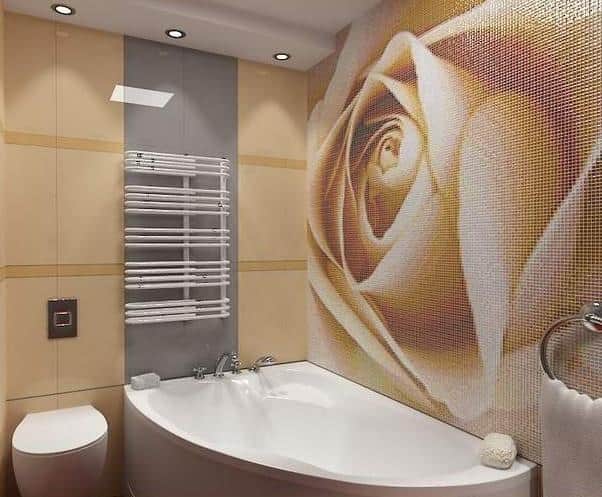
Using tiles, you can solve some problems associated with the size of the bathroom.
Usually the width of the tile exceeds the height. The wider side visually expands the wall if the tile is positioned horizontally. If the wider side is installed vertically, it raises the ceilings.
Styling Tiles: A Few Photo Examples
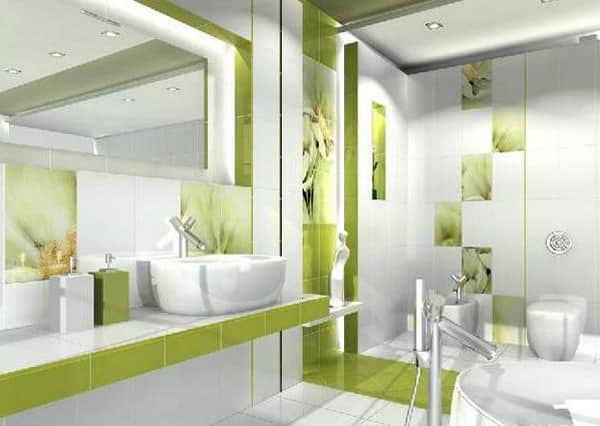
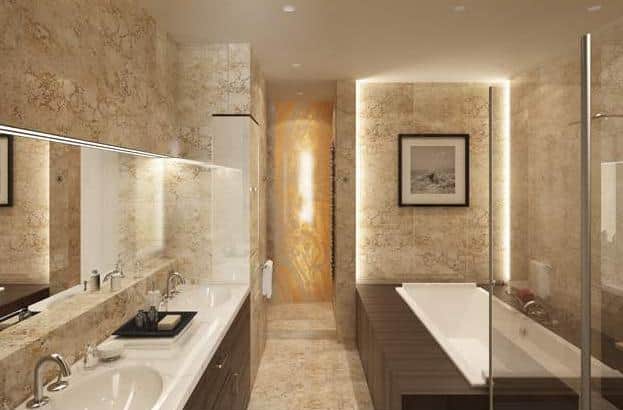
I always love to infuse my personal style into the design of the home in which I am staying. This is achievable even with just a standard tile, as can be seen in many bathrooms. There are several options for achieving this goal.
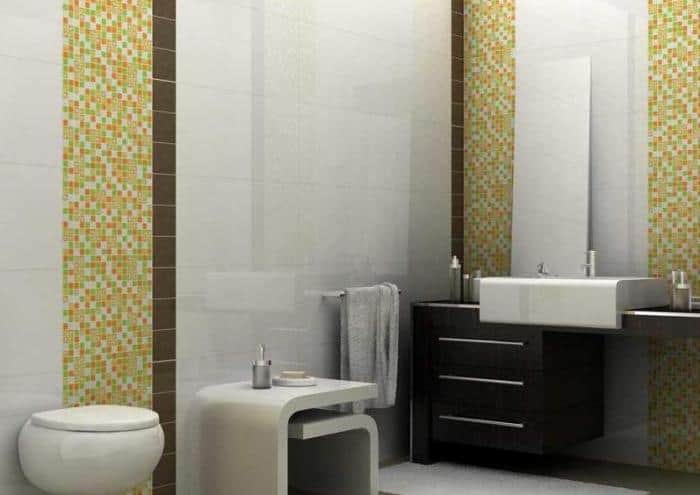
For plain tiles without a pattern
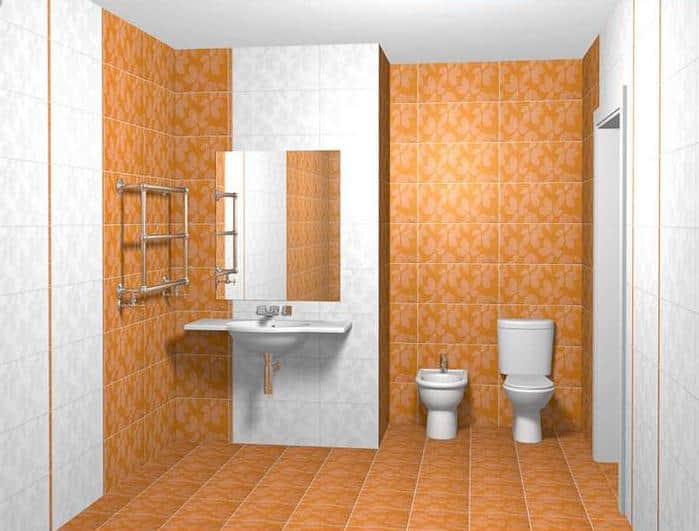
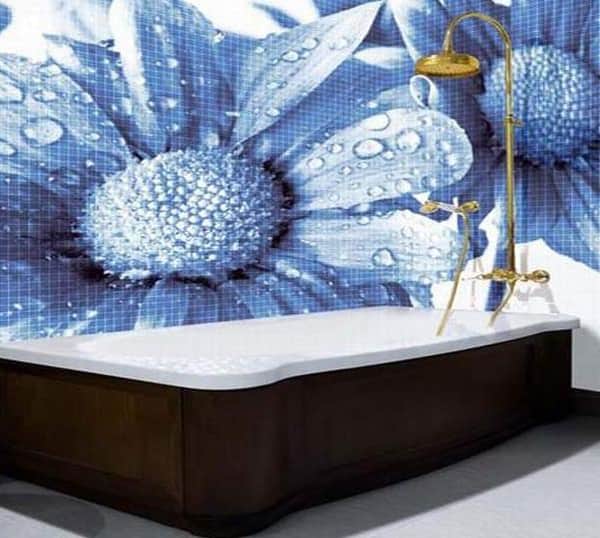
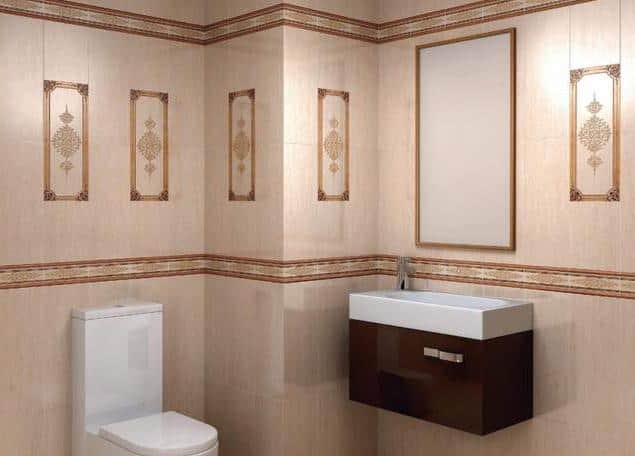
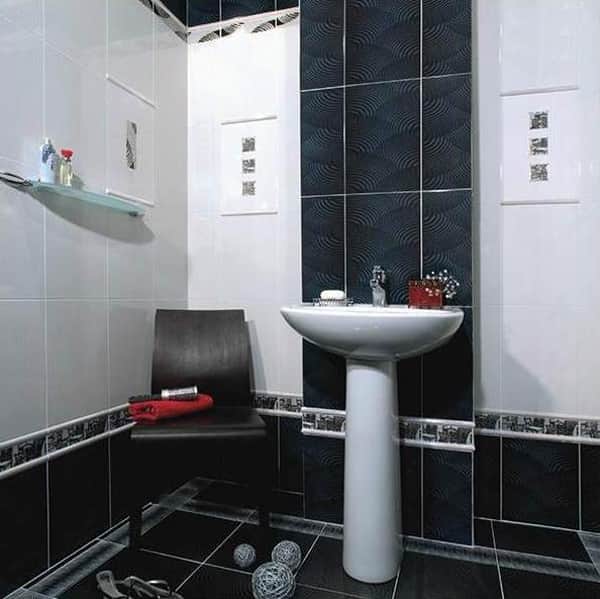
- The most common monochrome color can be diluted with an apron in plumbing fixtures.The apron is selected in contrasting colors to create emphasis. Alternatively you can select a tile with a pattern, then have the background to coincide with the main pattern of the tile.
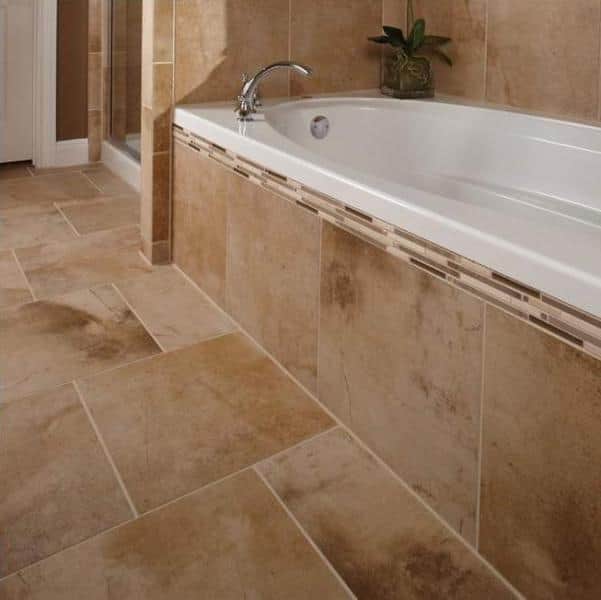
- An angled square tile is already significantly different from a square tile laid horizontally. A more interesting effect can be achieved if you contrast the seams with respect to the primary color of the tiles.
- At an angle, you can also lay rectangular tiles.This will break the space by visually changing the size of the bathroom. This method is very effective method in small bathrooms.
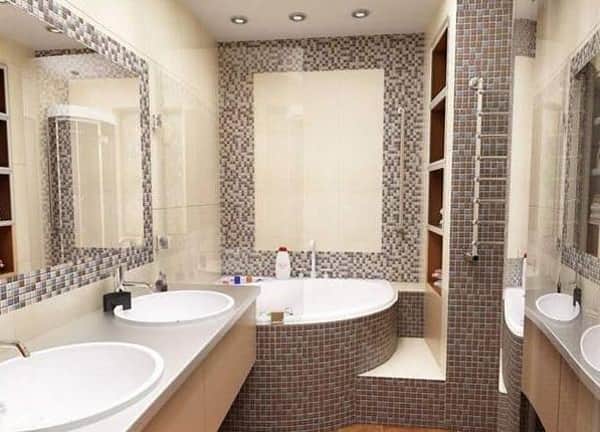
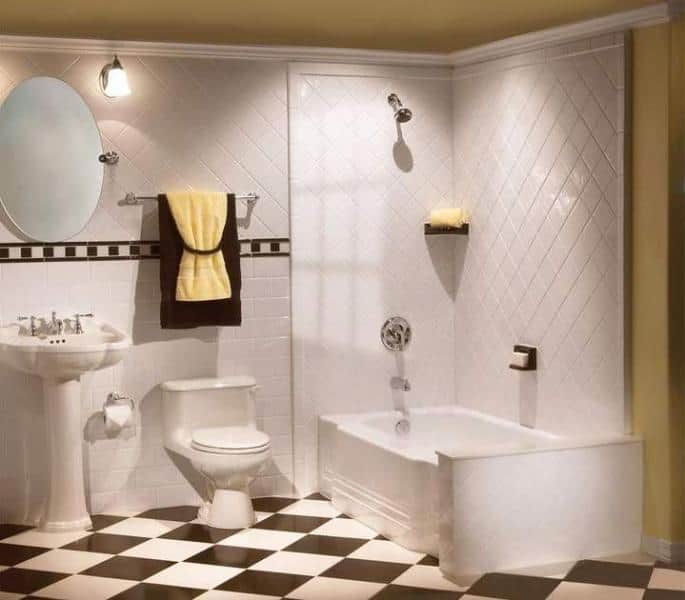
- Stacking in staggered order: This option results in a beautiful and unusual look. It works best with rectangular tiles.It can be installed both horizontally and vertically. This type of stacking is most effective for tiles in checkerboard pattern, executed in two contrasting colors.
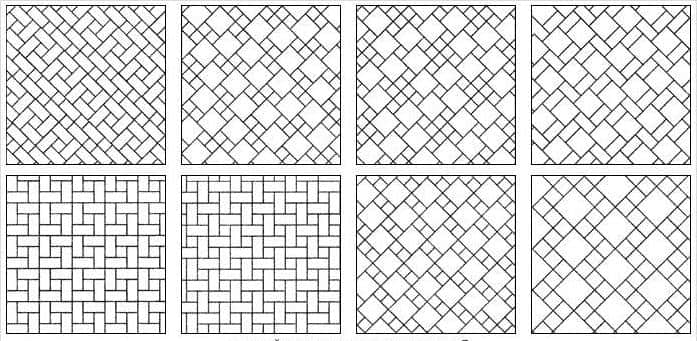
- Below is the original scheme for laying tiles:
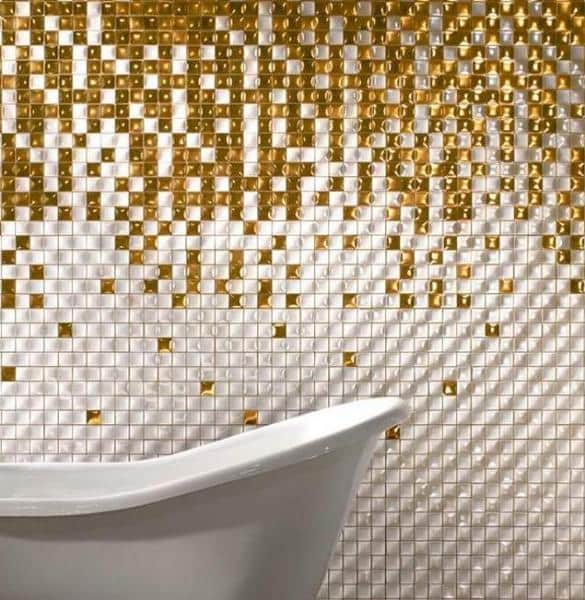
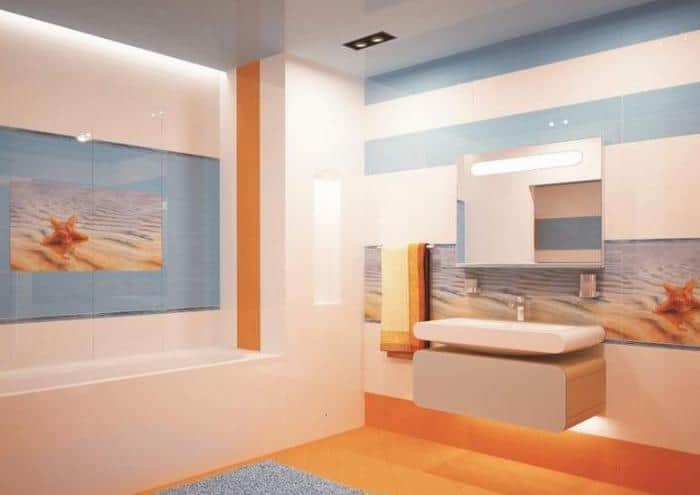
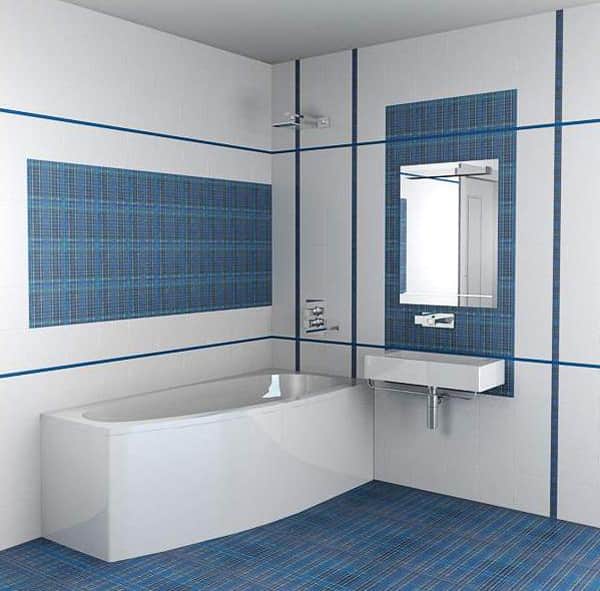
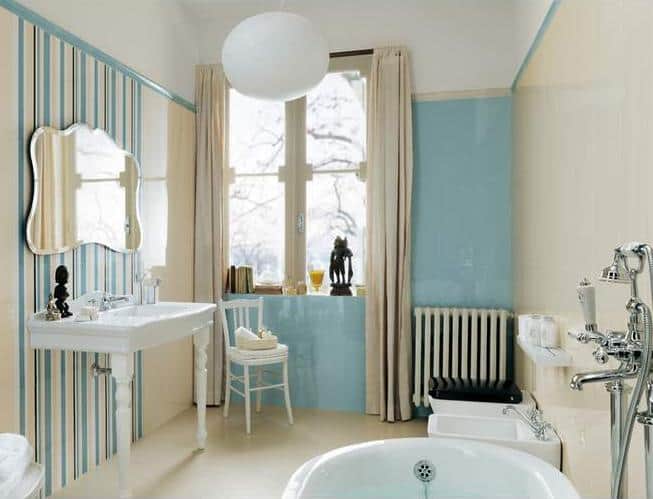
- Using a single-colored tile of two colors, it is easy to visually change the space, creating strips from the colors. Even when changing the number of rows in each strip, you can achieve a completely original look in the bathroom.
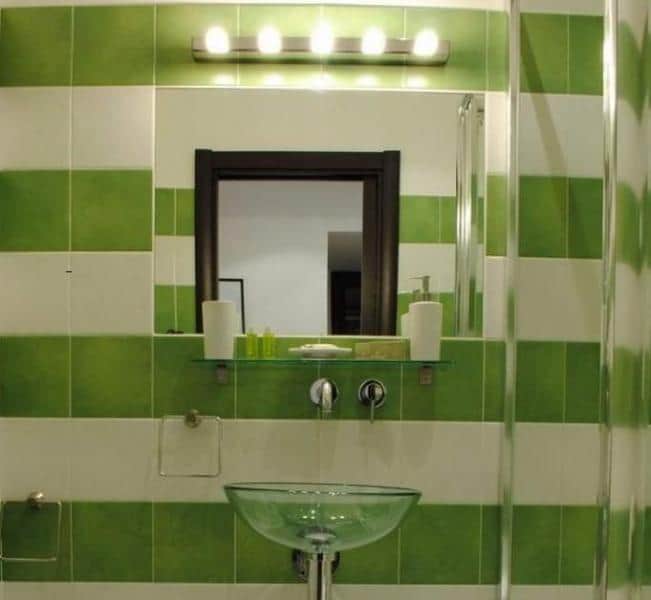
You can vary their percentage to achieve completely different visual results.

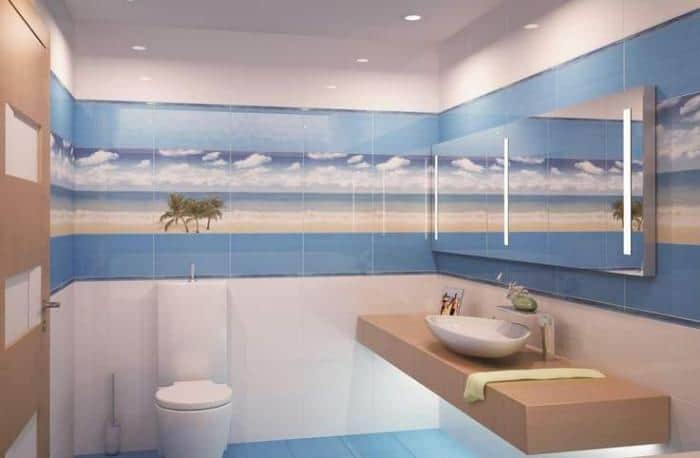
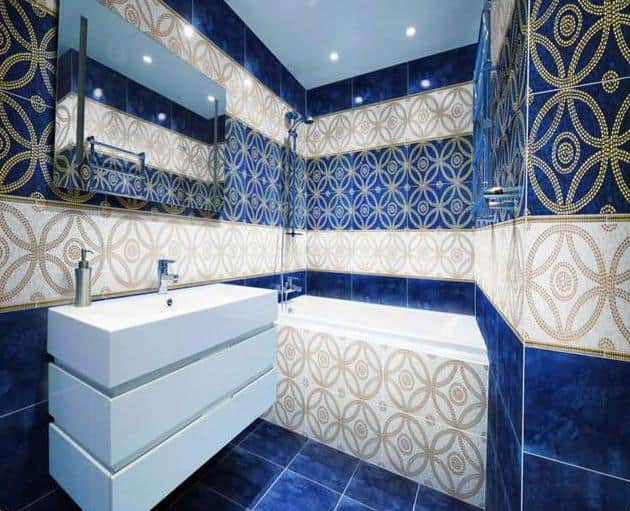
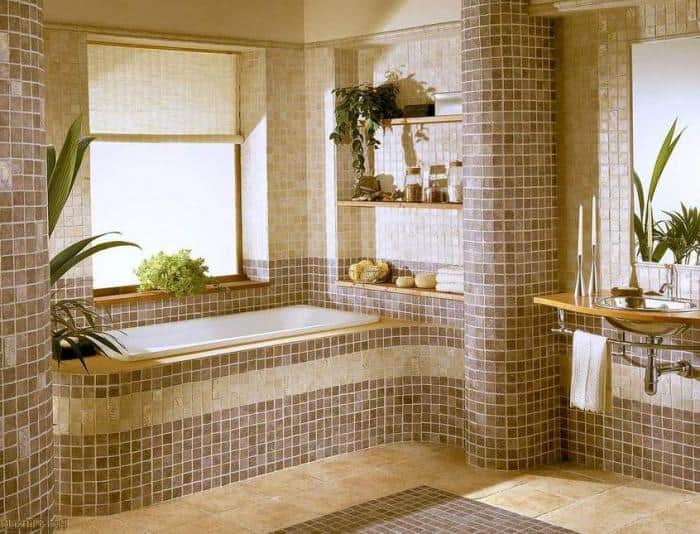
It should be remembered that having large figures, including tiles, in the bathroom is a bad idea, as this visually reduces its size. Everything must be proportionate.
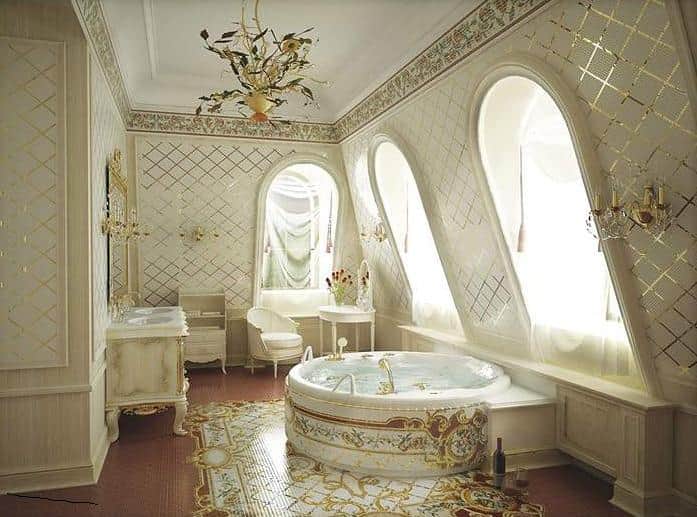
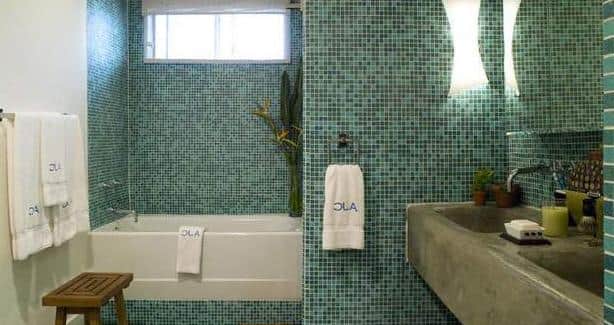
Some Secrets of Styling
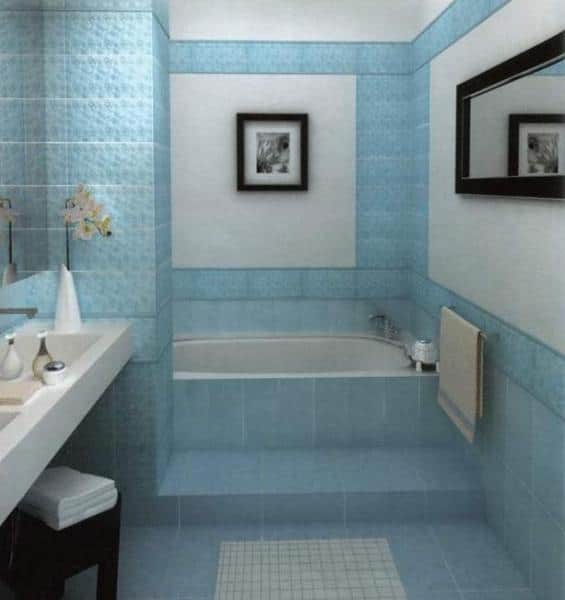
It does not take much effort or materials to make your bathroom original and functional. Do not hold back when choosing tiles. However, be cautious about going over the top since even the tiles simplest in texture and design, creatively arranged, can make the bathroom an original and unique space.


